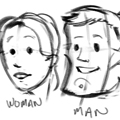
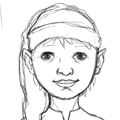
Young Elf, Part II (shading)
We have sketched an elf portrait (if you haven’t, see the previous Drawing tip!). Now, we are going to shade this portrait.
It can be hard to know what to shade on a drawing. It’s something you learn over time, from observing your surroundings. As you shade, you think about light and where the light is coming from. You think about shapes instead of flat surfaces. Just be curious about the process and don’t worry too much about the perfection of the results! I will guide you through it here.
For this drawing, use a pencil and an eraser. I used watercolors, but if you shade with pencil, you can erase any mistakes very easily.
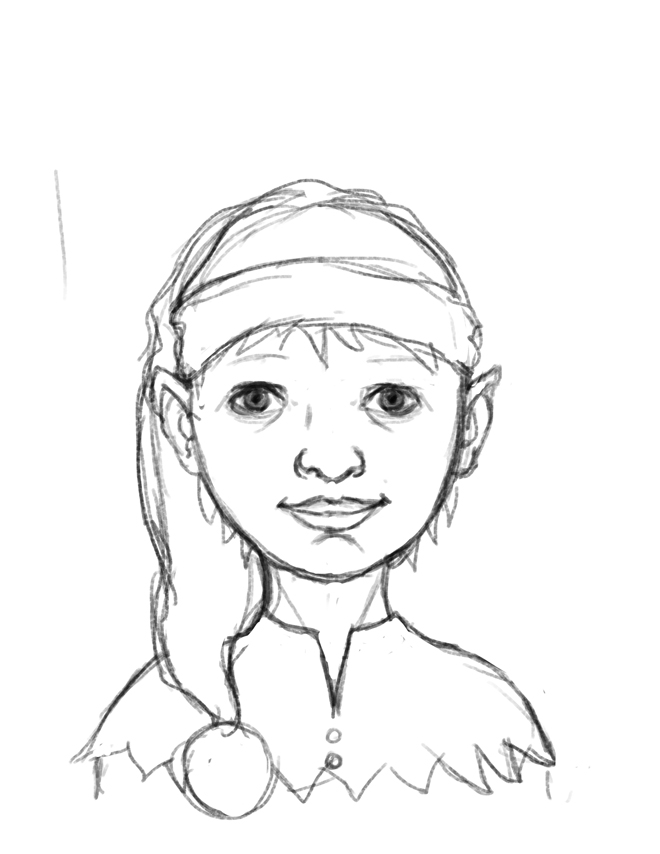
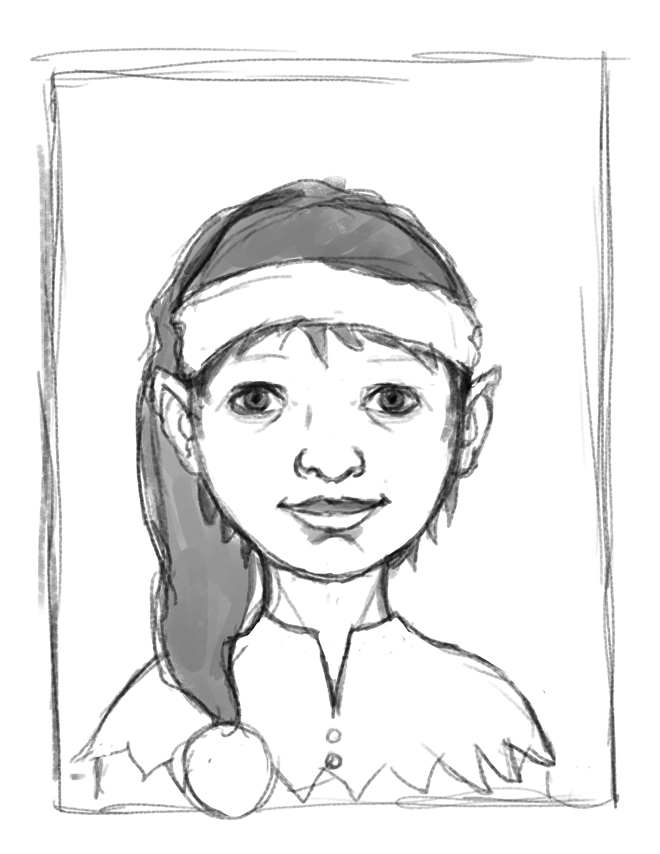
Step 1: The first thing I am going to do is draw a frame around my face so that I know how much of the paper I am going to work with. Then, I shade in the hat first. I also add a little shading on the upper lip and below the lower lip, and I will shade all of the hair.
Look closely at each step and you will see exactly where the new shading appears. Also, you want to shade lightly to begin with because you will go over it again and make things darker later on.
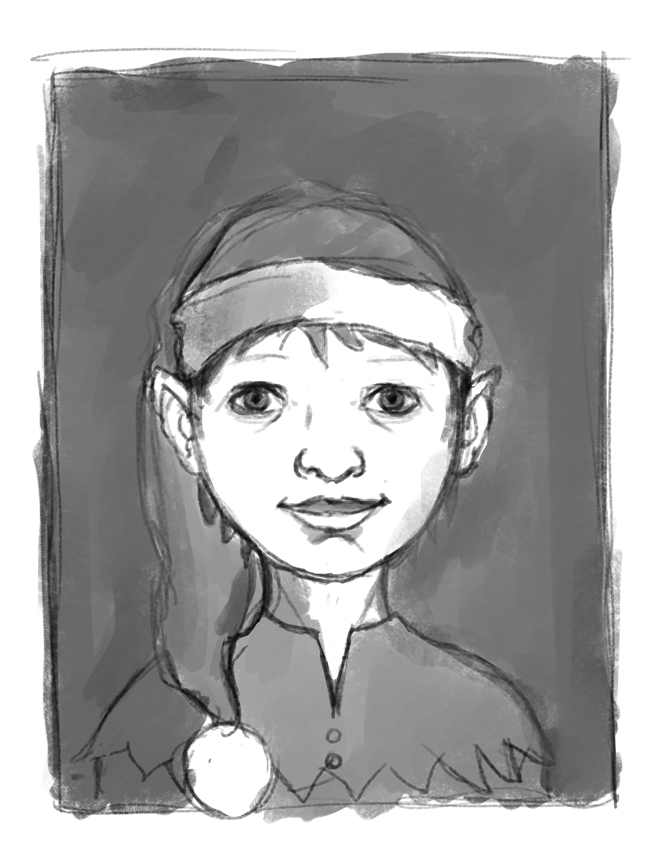
Step 2: Now I can go ahead and shade in all of the background, as well as the clothes and about half of the white trim on the hat. I will also shade half of the neck and a little on the right cheek. We are beginning to add shape to our portrait by establishing the shadows. By shading in this way, we also communicate that the focus of our portrait is the face and not everything around it.
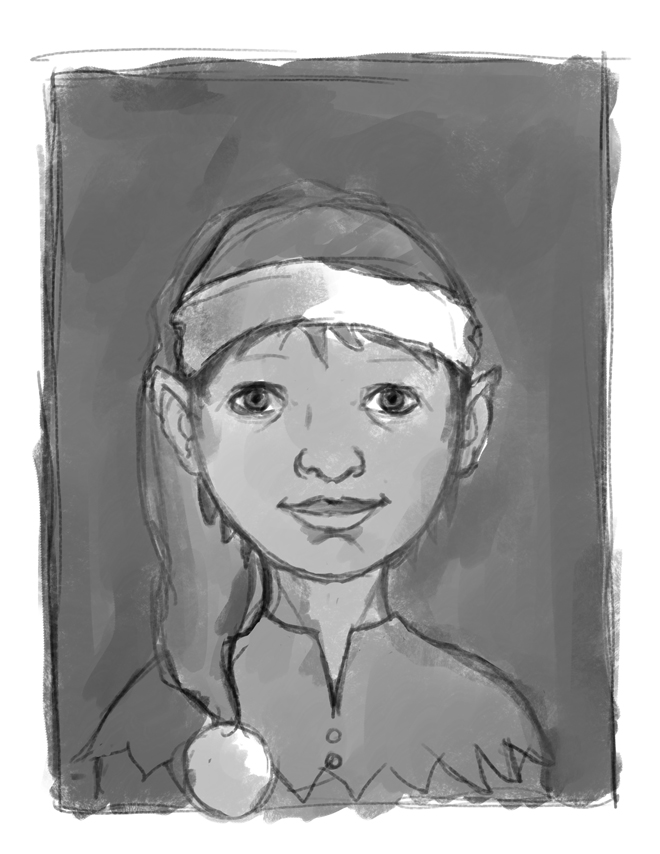
 Step 3: Now I lightly shade his face because skin isn’t stark white. You will want to do this with a very light hand so you can erase later. Eventually, by erasing in places, you will leave just highlights.
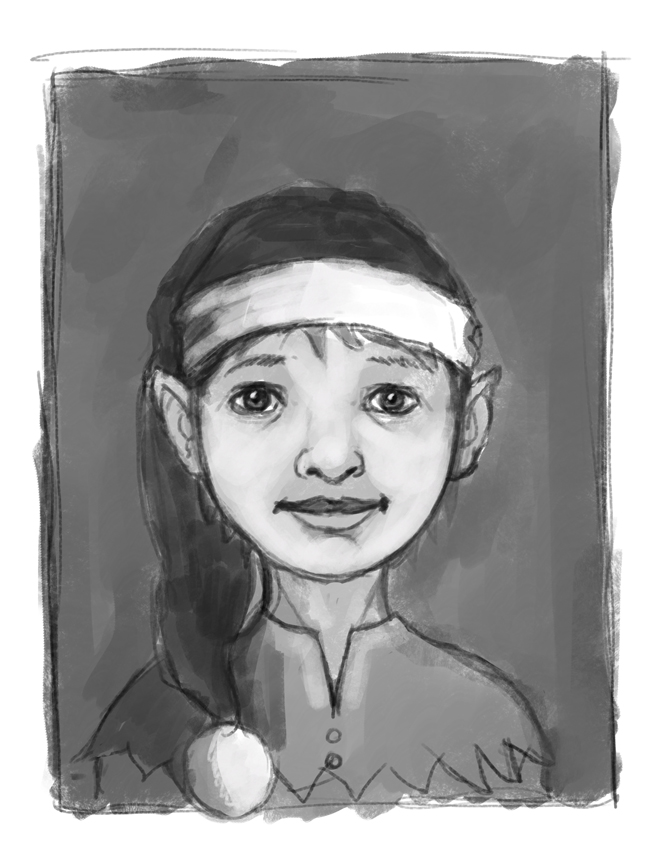
 Step 4: Now I use an eraser and make the skin tone lighter in certain areas, especially on the cheeks and nose. Erasers are so handy at times! This adds some new shape to the face. Next I want to make the hat a lot darker so that it really stands out. I can also add some shadow (darker shading) on one shoulder to show the light is coming from the right.
Step 5: Now I go over the portrait and smooth out and blend my shadows. I make sure that the hat is really dark compared to my background.
Again, just study the differences between the step above and the step below. See where I have darkened areas and clarified lines. It’s a bit like a game or a puzzle, to look for the differences between two stages of a drawing!
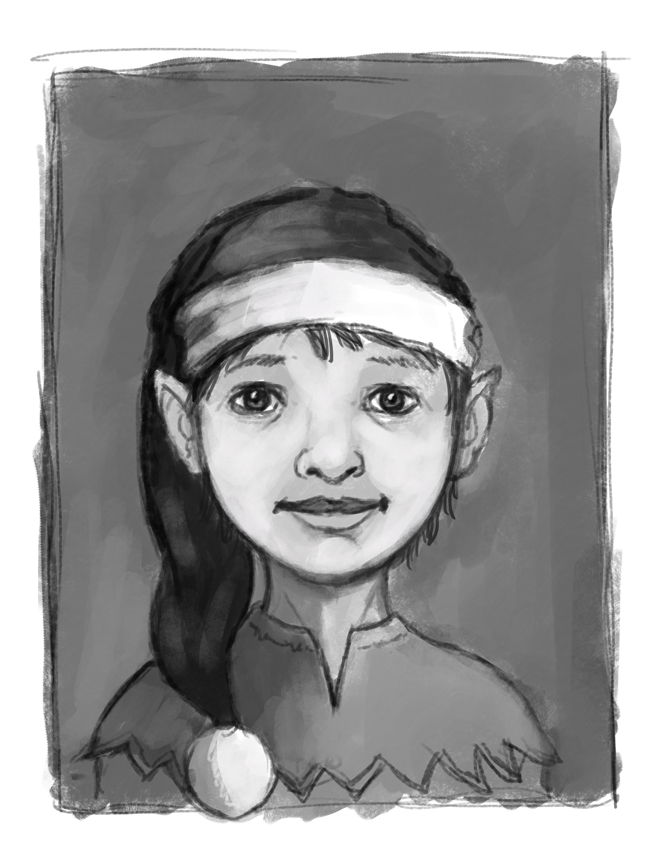
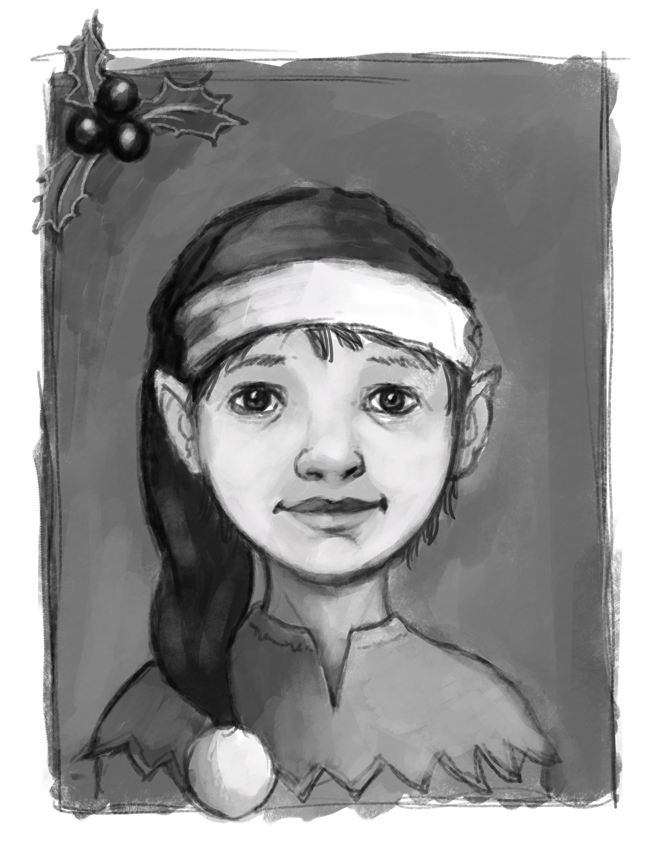
Step 6: Lastly, I draw a sprig of holly in the corner of the frame. It adds a nice little touch and finishing polish to the portrait. I also adjust the shading on the right shoulder, on the ball of the hat, on the cheeks, lips and nose… and done!

You can work on shading and also on patience with learning how to shade.
Be sure to look at objects around you and see their light patches and dark patches. Notice where the light is coming from, and, therefore, where the shadows fall.