Drawing Christmas trees
 When I first began to draw, I always had difficulties drawing a Christmas tree because of the sheer amount of splendor and details. It can be hard to capture so many little details, and know where to start. So, I would like to show you how you can draw a Christmas tree in just three steps!
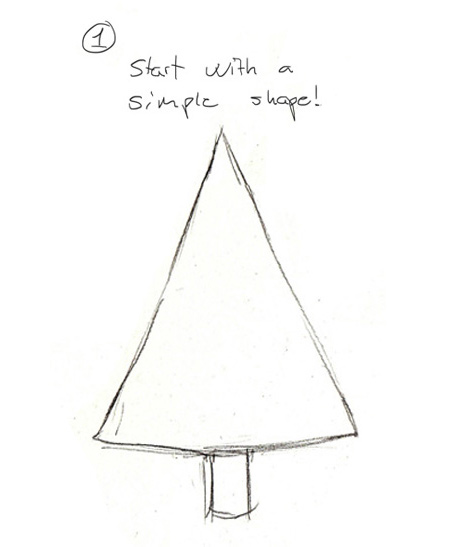
As with all drawing, the key is to start simple, and the simplest way you can begin is with a rough shape. For a Christmas tree, we are going to use a tall triangle with a little rectangle at the bottom to show the trunk of the tree.
Step 1: Draw a triangle with a rectangle for trunk!
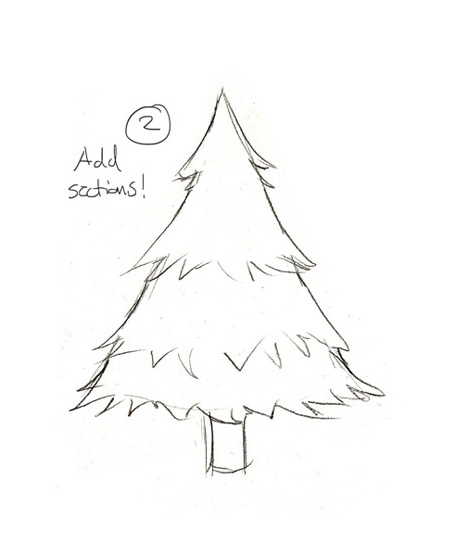
 Step 2: Add spiky sections to make the tree come alive!
This step is about adding some branch sections to the tree just to make it feel a little more natural. You can use loose spiky shapes for this. Just go over your original triangle and add in some new sections.
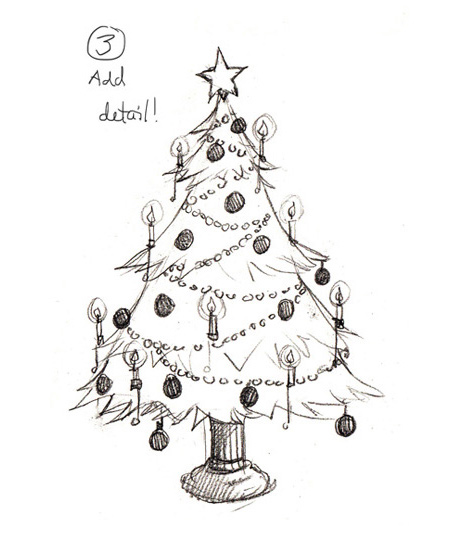
 Step 3: Add simple decorations, anything you like! No Christmas tree is complete without decorations. The easiest decorations to add are little round balls, but if you get creative you can add some stars in there, too, and maybe also some candles and whatever else you like. It’s your tree, after all! Notice that I added a little stand to the trunk of the tree and some light shading to show it is underneath the tree.
 Color makes Christmas trees really come alive.


